Parts of XP's Windows Explorer
The windows explorer displays the hierarchical structures of drives, files and folders on the computer. The windows explorer window is separated into two parts, the left and the right-hand sides. The left-hand side pane shows the system folders (i.e. desktop) and sub-folders, whilst to the right-hand window, we can see/view the contents of the selected folders.

To view the contents of the folder, just left click on the specific folder and look at the right-hand side pane, where the folder’s contents (folders and or files) are typically displayed.
If you want to expand a branch one level, double click on the required folder or simply click ones the plus sign located at the left side of the folder’s name. To collapse the folder or drive, simply click on the minus sign seen on the left-hand side of the folder name.
You can perform as many tasks as you prefer within the explorer window i.e. copying or cutting files and folders from one drive to another or from one folder to another. For instance you can move or copy a file or folder from the My Documents folder to the Desktop or to the Drive C/D, etc.
Note that you are allowed to cut, copy, open and delete files and folders to the right-hand window in the explorer window and not to the left pane.
Other parts seen in the explorer window include title bar, menu bar, tool bar, address bar, scroll bar(s) and status bar.
The title bar resides at the top of the window displaying the name of the active/open folder, file, etc. To the right-hand side of the title bar are the windows control buttons which are specifically designed for adjusting the window’s width and height or closing it. These include Minimize, Maximize, Restore Down and Close buttons.
The line below the Title bar is known as the Menu bar containing drop down menus that a user can select to execute a specific operation. On this bar we can see File, Edit, View, Favorites, Tools and Help menus. To see the commands associated with any Menu item, just click on the respective menu item to bring the drop down menu.
Below the Menu bar there is a toolbar containing on-screen buttons commonly known as standard buttons which you can select to perform a certain operation such as changing the views in the contents’ window, moving forwards and backwards, etc. These buttons include bark, forward, search, folders, views, etc.
The back and forward buttons as their names imply, help us to navigate forward and back within the explorer window when we are working with our files and folders located inside the hard disk drives or removable storage devices, i.e. Floppy disks, DVD discs, etc.
The search button displays the search pane to the left of windows explorer window that gives options for searching anything located inside the computer. This feature can also help you search and find computers.
Below the toolbar, we can see the address bar that shows the locations of currently open folder in the hard drives. If you know the location of the file/folder in the hard drive, you can open it by typing its general address in the address box and hit the enter key or click the Go button located to the right-hand side of the address bar.
Note that, if you type an incorrect name, you will get an error message, hence you must type it correctly and if you don’t know how to open folders and files in this way, use the normal methods to avoid errors!

Paul Makonda aanza ziara ya siku 10 ndani ya jiji la Dar Es Salaam
November 19, 2016

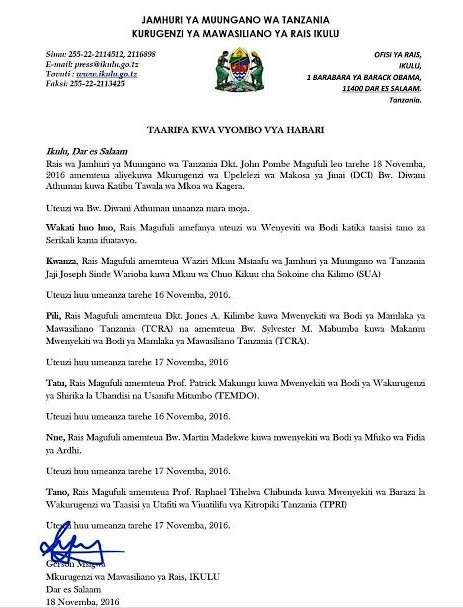
Rais Magufuli afanya uteuzi wa wenyeviti wa bodi za mashirika ya hifadhi za jamii
November 19, 2016

Dr. Shein azindua wodi ya watoto na wazazi
November 19, 2016

Rais Magufuli ametengua uteuzi wa Mwenyekiti wa Bodi ya Wakurugenzi wa TRA
November 20, 2016


No comments:
Post a Comment